How to read a coil calculator, from ohms to amps
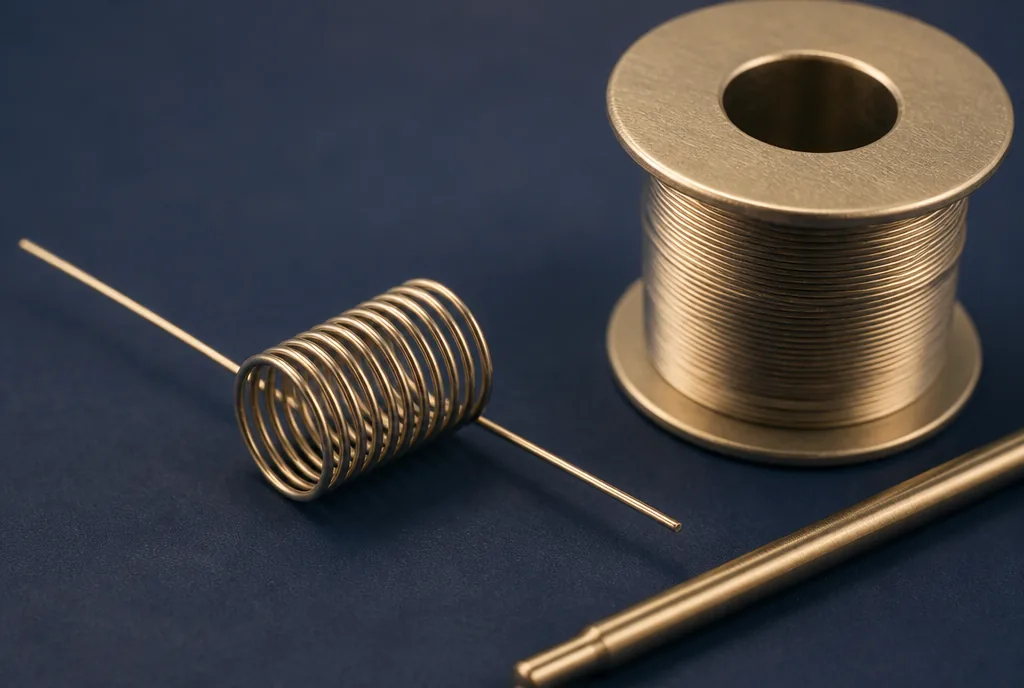
Five boxes to fill in, three or four numbers back. A coil calculator looks like a tool with a single answer, the resistance in ohms, and that is often the only figure anyone reads before tightening the screws. The watts and amps printed just below get skipped, even though they describe how the build will behave on your mod. Knowing how to read them, and which input moves them, changes the way you prepare a rebuildable.
What a coil calculator gives you, number by number
A coil calculator returns the theoretical resistance of a coil made from a single round wire. It works it out from the material, the wire diameter, the inner diameter, the number of wraps and, depending on the tool, the length of the legs. The fuller versions add the power and current you would get at a given voltage, and sometimes a heat indicator.
The table sets out each figure and what it takes for granted.
| Figure shown | What it expresses | What it assumes |
|---|---|---|
| Resistance (Ω) | The value of the coil when cold | A single round wire, even wraps, estimated legs |
| Power (W) | The energy the coil turns into heat each second | The voltage you entered |
| Current (A) | What the cell has to deliver | The same voltage, with no loss in the contacts |
| Heat indicator | A heating guide specific to the tool | That tool’s own formula |
Resistance is the only figure that depends on no electrical assumption. The other two follow from the voltage you type in. On a regulated mod that voltage changes with the power you set, whereas on a mechanical mod it starts at 4.2 V with a fully charged cell and drops as the cell discharges.
A heat indicator only means something inside the tool that shows it. One retailer’s calculator suggests keeping its heating coefficient between 0.20 and 0.35, without publishing the formula, which rules out comparing that figure from one tool to the next.
Which input moves a coil calculator result the most
Build guides give the direction of each relationship. Thinner wire, more wraps or a wider diameter push the resistance up, with slower heating for the last two, while a complex wire or a dual coil bring it down.
The calculator gives the size of each effect, and that is where the inputs part company. Each row of the table changes one thing only, starting from a 0.40 mm round wire, roughly 26 AWG.
| Change | Effect on resistance | Why |
|---|---|---|
| Wire from 0.40 to 0.32 mm (about 28 AWG) | Up 56% for the same length | Cross-section follows the square of the diameter |
| Wire from 0.40 to 0.51 mm (about 24 AWG) | Down about 38% for the same length | Same cause, the other way round |
| Six wraps, then seven | Up about 17% on the wrapped part | Each turn adds its own length of wire |
| Inner diameter from 2.5 to 3 mm | Up about 17% on the wrapped part | One wrap goes from about 9.1 to 10.7 mm of wire |
| Kanthal A-1 swapped for Nikrothal 80 (Ni80) | Down about 25% | Resistivity of 1.09 against 1.45 Ω·mm²/m |
| One coil, then two identical coils | Halved | Two equal resistances in parallel |
| Longer legs | Small | The length involved stays short next to the wraps |
Wire diameter outweighs everything else. Moving one gauge either way shifts the resistance by a good third to more than half, while an extra wrap or half a millimetre of diameter moves it by roughly a sixth. A misidentified spool therefore matters far more than a miscounted wrap, and it is the first box to check when a result looks wrong.
Picking a wire for the resistance you want
The material menu is more than a list. Each alloy shifts the range of resistances you can reach and decides which mode the build can run in, power or temperature control.
Kanthal and Ni80, the two starting round wires
Kanthal remains the most widely used resistance wire. Easy to work, it suits higher resistance builds, which makes it the logical choice for a tight draw at low power.
Ni80 nichrome gives lower values for the same geometry and heats more responsively, while staying simple to handle. Both suit single round wire builds, which is exactly the case a calculator handles without approximation.
Stainless 316L and Ni200, the temperature control side
316L stainless steel works in power mode and in temperature control, with very responsive builds that retailers reserve for experienced vapers. Ni200 nickel only works in temperature control, with very low resistances, and is also meant for people who already know their hardware well.
Temperature control relies on the resistance of the wire changing as it heats. The technical datasheets from the manufacturer Kanthal, the source of the resistivity figures in the table, give Kanthal A-1 a resistivity factor of 1.00 between 100 and 400 °C. Its value does not move as it heats, so a mod in temperature control would have nothing to measure.
From ohms to watts with P = V²/R and I = V/R
The watts and amps on a calculator come from two formulas, Joule’s law and Ohm’s law. They read differently depending on whether the voltage comes straight from the cell or through electronics that regulate it.
On a mechanical mod the cell voltage decides
With no electronics, the cell sends its voltage straight to the coil. For this case, retailer tools work on 4.2 V, the voltage of a fully charged cell. The table gives the resulting power and current for three resistances, at 4.2 V and then at 3.7 V.
| Resistance | At 4.2 V | At 3.7 V |
|---|---|---|
| 1.0 Ω | 17.6 W and 4.2 A | 13.7 W and 3.7 A |
| 0.6 Ω | 29.4 W and 7.0 A | 22.8 W and 6.2 A |
| 0.3 Ω | 58.8 W and 14.0 A | 45.6 W and 12.3 A |
At the same voltage, halving the resistance doubles both the current and the power. A dual coil made of two 0.6 Ω coils therefore lands on the last row. These figures illustrate the formulas, they are not settings to copy.
Current is the figure to set against the cell. Every cell has a continuous discharge rating, stated by its manufacturer, and the current drawn has to stay below it with a margin to spare. A pulse rating or a number picked up on a forum is no substitute.
On a regulated mod you set the watts
On a regulated mod you choose the power, the electronics adjust the voltage, and the resistance of the coil first serves to check that the value falls within the range the mod accepts, printed in its manual.
Unlike tank coils, a coil you wrap yourself carries no wattage range. The usual method is to start at the bottom of the typical bracket for its value, then climb a few watts at a time until it heats briskly. The ranges printed on ready made heads, covered in our vape coil guide, give a first reference. Two coils of the same value do not necessarily share the same ideal power, which is why climbing gradually pays off.
Before the first puff, the reading beats the sum
The calculator works on an ideal coil. A real build adds contacts, screws tightened more or less firmly and legs trimmed by eye, so only the value read by the mod or by an ohm reader counts.
A value well below what you expected, or an absurd one, usually points to a fault in the build. Check that the coil is held firmly and that the legs touch nothing on the deck, and never persist with a build that is shorting.
This kind of work is for vapers who master their hardware, their cells and these figures. At the slightest doubt about a value, going back to a ready made coil, with its working range printed on the side, is the wiser call. If the deck sits inside a tank, UK rules limit it to 2 ml of liquid, like any other refillable tank.
FAQ
The questions that come up around coil maths, beyond reading the results.
What does “coil” mean on a vape?
A coil is the wound spiral of resistance wire that heats the cotton soaked in liquid. In shops the same word covers the ready made heads that slot into a tank and the coils wrapped by hand on a rebuildable deck, where the cotton is threaded through by the user.
Is a coil calculator any use for a ready made coil?
No. A tank coil already shows its resistance in ohms, often with a wattage range. The calculator is there to anticipate the value of a coil you wrap yourself, before it goes into the atomiser.
Which inner diameter should I enter?
The diameter of the rod or jig the wire is wound around, not the outside diameter of the finished coil. On a standard rebuildable it is usually around 3 mm.
Can a coil calculator handle Clapton wire?
Not with the same accuracy. Predicting the value of a Clapton or another complex wire is much harder than with a round wire, because there are no simple parameters to enter. Some tools accept a number of strands, but the result stays an estimate, and experience and the ohm reader take over.
What is the best vape coil?
The one that matches your atomiser. A powerful direct lung rebuildable calls for wide, responsive wires with low values, whereas a low power mouth to lung atomiser wants thin wires with high values. In between, a restricted direct lung atomiser copes badly with coils that are too thick and too hungry for power.
Reading a coil calculator from top to bottom
Ohms tell you what you have built, watts what the coil will dissipate, amps what the cell will have to supply. Reading all three rather than the first alone avoids plenty of unpleasant surprises.
On the input side, wire diameter weighs more than wraps, inner diameter or alloy. On the output side, the voltage you enter drives the watts and amps, and only the reading on the real build settles the matter. Used that way, a coil calculator becomes a serious preparation tool, much like our e-liquid mixing chart on the liquid side, and the bench habits that come with it carry over to the rest of the kit.
Further reading
- Vape coil guide, ohms, watts and wear
- E-liquid mixing chart for shortfills
- How to make your own e-liquid
Editorial content for adult readers only. Vaping products can contain nicotine, a substance that causes addiction, and nicotine vaping products are not for sale to anyone under 18 in the UK. This article is not a buying recommendation.